.jpg)
With Google Maps Street View, you can see the scenery in 360 degrees and feel like you are traveling in any city in the world. Many of the 360 photos on Street View are taken by Google cars and Google Street View certified photographers.

However, with a THETA 360 degree camera, you can easily participate in making Street View images.
There are still many roads that cannot be seen on Street View, such as small paths and side roads that Google cars cannot enter. You too can contribute 360 photos to Street View! Why not give it a try? It’s exciting to see 360-degree photos you took using THETA in Google Maps Street View!
So, let’s get started!
1. Get a Google account
2. Download the Google Street View App
3. Connect THETA to smartphone via Wi-fi
When you connect THETA to your smartphone via Wi-Fi, the Street View app will recognize that THETA is connected and will automatically display photos taken with THETA. When you turn on THETA’s Wi-Fi, it will appear in the Wi-Fi list on your smartphone. You must select it to connect.
4. Shoot with THETA
Take pictures of the places you want to upload to Street View at intervals of about 3 meters. The photos are better at eye level, so set THETA on a tripod or hold a monopod in your hand and shoot at about eye height.
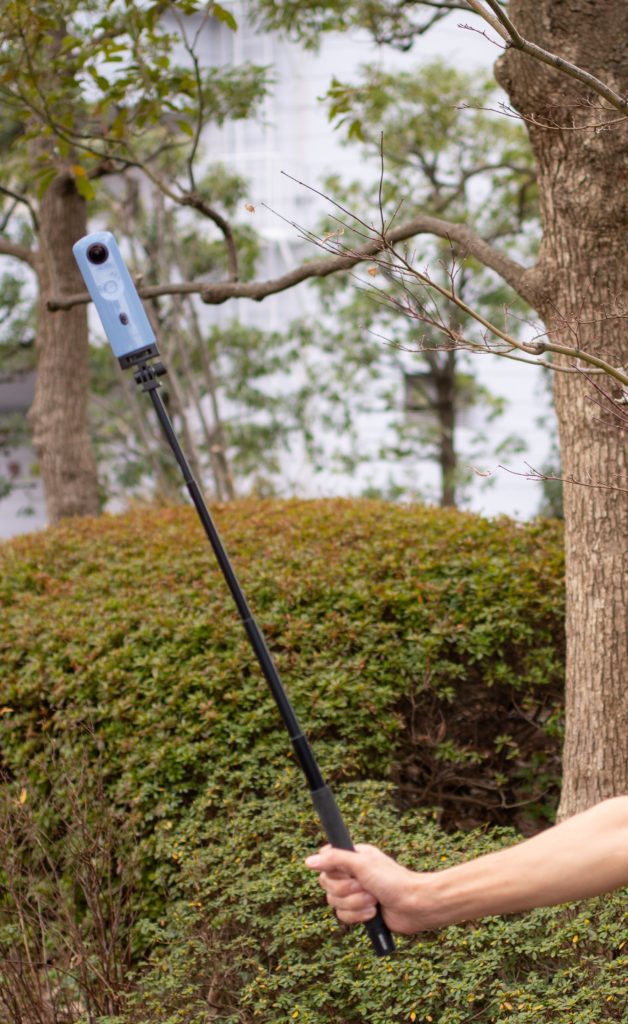
If you don’t want to appear in the photo, hide yourself or blur out your figure later.
With THETA V or Z1, you can use the time-shift shooting function to prevent yourself from being photographed.
Have a look at this article for more detail about time-shift shooting, which is one of our recommended plug-ins.
5. Activate the Street View app and check your photos
Since your smartphone and THETA are connected via Wi-fi, when the Street View app is activated it will display “Connected to RICOH THETA” and the camera mark at the bottom right will turn blue.
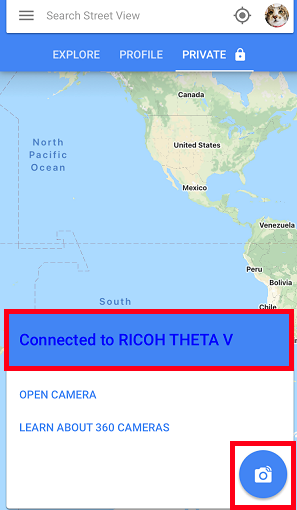
You can take pictures by tapping the blue camera mark, but pictures already taken with THETA are also automatically transferred to your smartphone and can be added to Street View.
You can long-press the image to blur anything that might infringe privacy or is affected by portrait rights.
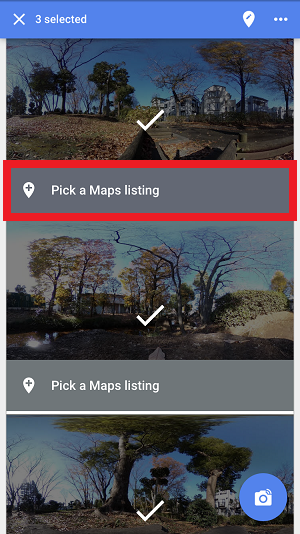
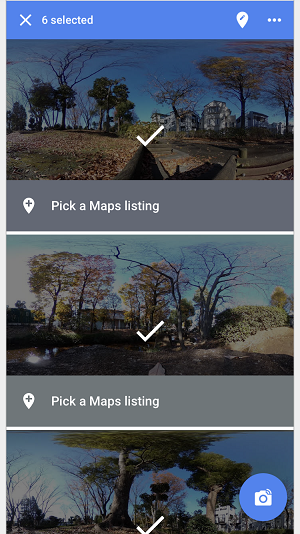
6. Link photos with locations registered on Google Maps (listing)
When you connect a smartphone with active GPS to THETA via Wi-Fi GPS information will be recorded in the THETA image, and Google Maps will show the candidate locations based on the GPS data. If no proper candidates are found, you can just post the photo to Street View without listing it.
7. Select the photos and post them on Google Maps after listing
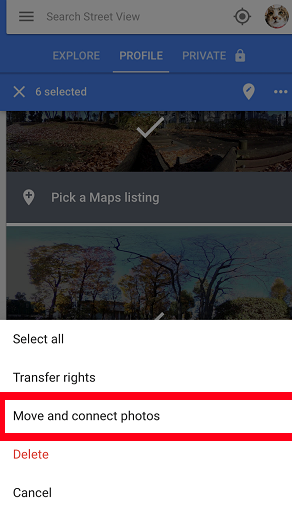
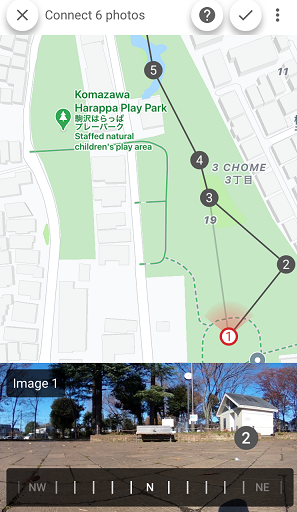
8. Connect multiple posted photos to create a route on Street View
As shown in the screenshot below, select 360 degree photo in “Profile” and select “Combine 360 degree photos” in the menu.
↓ Select photos in “Profile”
↓ Select “Combine 360 degree photos” in the menu
Use a map to confirm the location of each photo, and draw a line between the photos you want to combine. Once you are done, tap the checkmark to save the route.
That’s it!
After the posted photos pass the Google One check, the posted Street View will be displayed as a fork in the official Street View.
9. Other details
If you want to delete photos after posting them on Google Maps, you can delete them by going to your post from the Google Maps menu on PC.
We recommend you to read the “Street View Image Policy” before posting your photos.
We hope you got some ideas for your THETA and you try posting the scenery of your city in Street View!
These are some street view photos of two THETA users who are Google Street View certified photographers. Check them out!
◆ Toyo’s street view
■potaro67’s street view
For more details, please visit our product page.


.svg)